Creating the Skybox
Dec 4, 2015
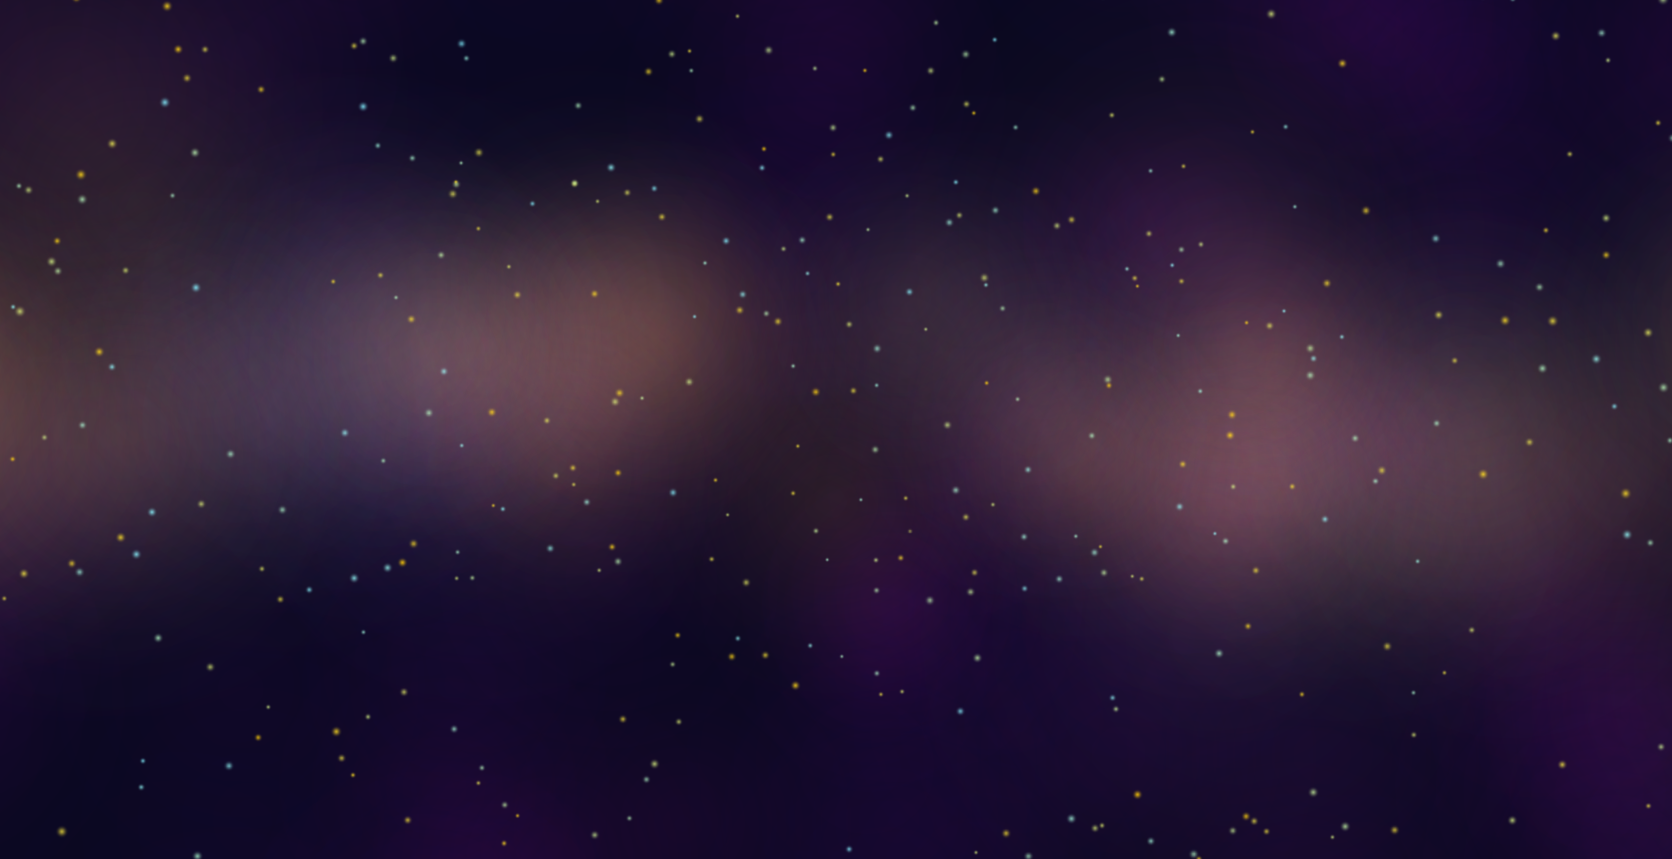
I’ve recently decided to start updating this blog again, so lets start with what I’ve changed most recently. In the past few days I worked on the skybox, the previous method for which was massively dropping the FPS, and I had to turn it off for any kind of testing. This old method was to create a particle system in the scene that pushed transparent particles onto a sphere around the camera, then paused itself when it generated enough to fill the backdrop. This meant the starscape was completely procedural and different each time I loaded the save, and I planned to use unique system IDs as the seeds for the particle system, so systems always looked the same when you returned to them. This particle rendering method meant there were hundreds of billboards covering the screen, each one using a resource intensive additive transparent shader. There was about a 30FPS difference between the particle system being rendered and not rendered. This was not acceptable, especially since it meant about 10FPS in the editor when I had the scene view open. There was also a several-second period at the start of the game where the skybox had to fill itself in before pausing.

Since the skybox (or ‘starfield’ as I called it in-game) never changed during the game, I decided to try to bake it into a cubemap at startup. This made use of Unity’s Camera.RenderToCubemap() method, despite the documentation suggesting I use a reflection probe (I could never get the reflection probe to give the cubemap I wanted).
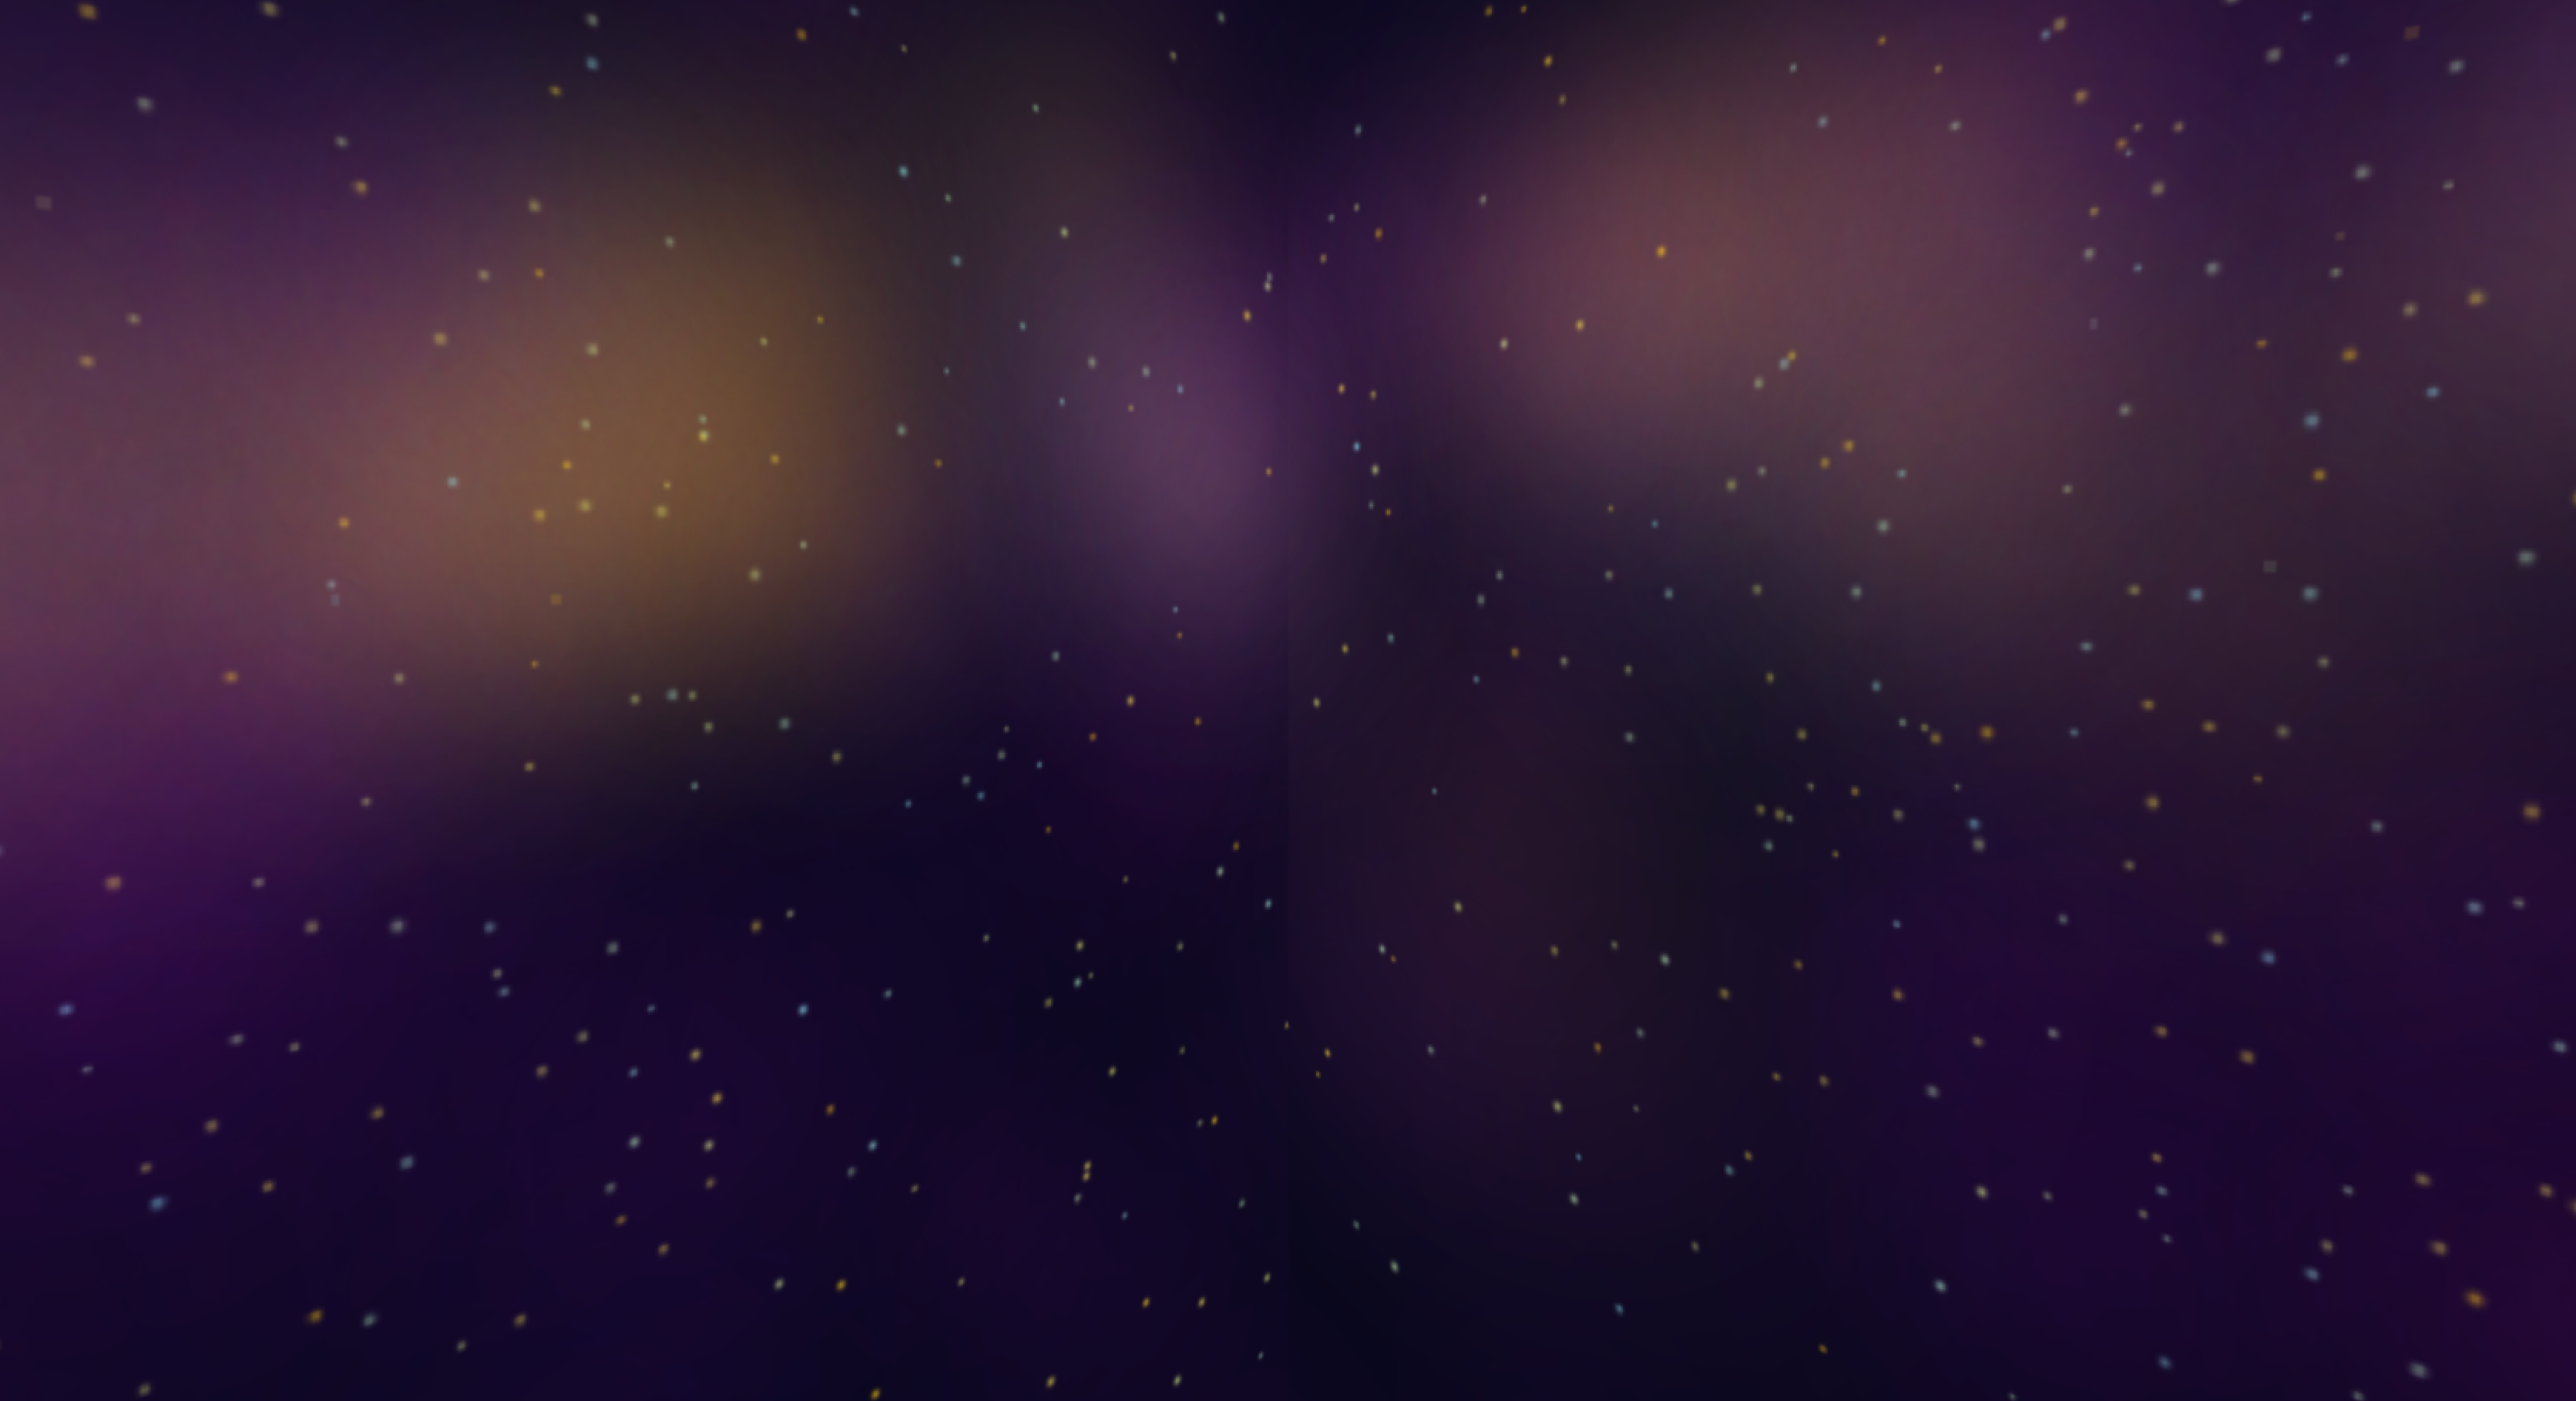
This method works great for regular geometry, but when its being used to render billboards with complex layering it seems to have trouble, causing massive errors at the edges of the skybox. I tried to correct that using a built in method to blur the edges of the cubemap, but I only got limited success with that. Bluring the edges just added extra time to an already slow startup, sometimes taking up to 10 seconds to finish the cubemap.

I tried a lot of methods to fix this, including rendering the nebulae to its own skybox, rendered with its own camera that had a blur post-effect enabled on it.
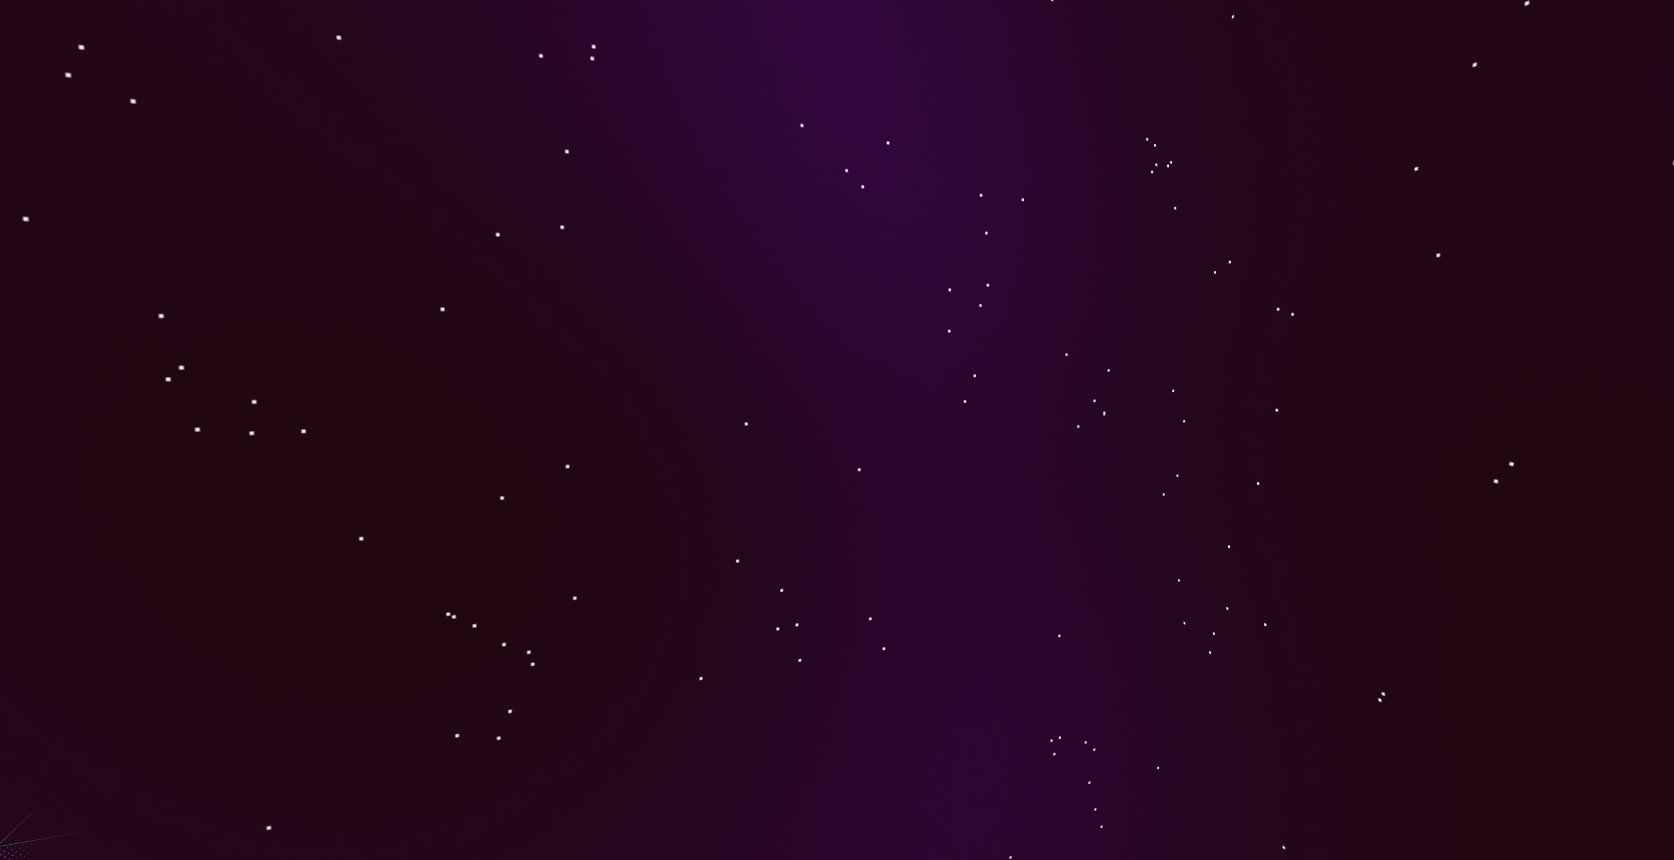
At this point I decided procedural starfield generation was not going to work well, and downloaded a program called Spacescape to make my skyboxes. After a few minutes of playing with settings I had a working skybox. I had a problem with my monitor, so it turned out a little too purple…

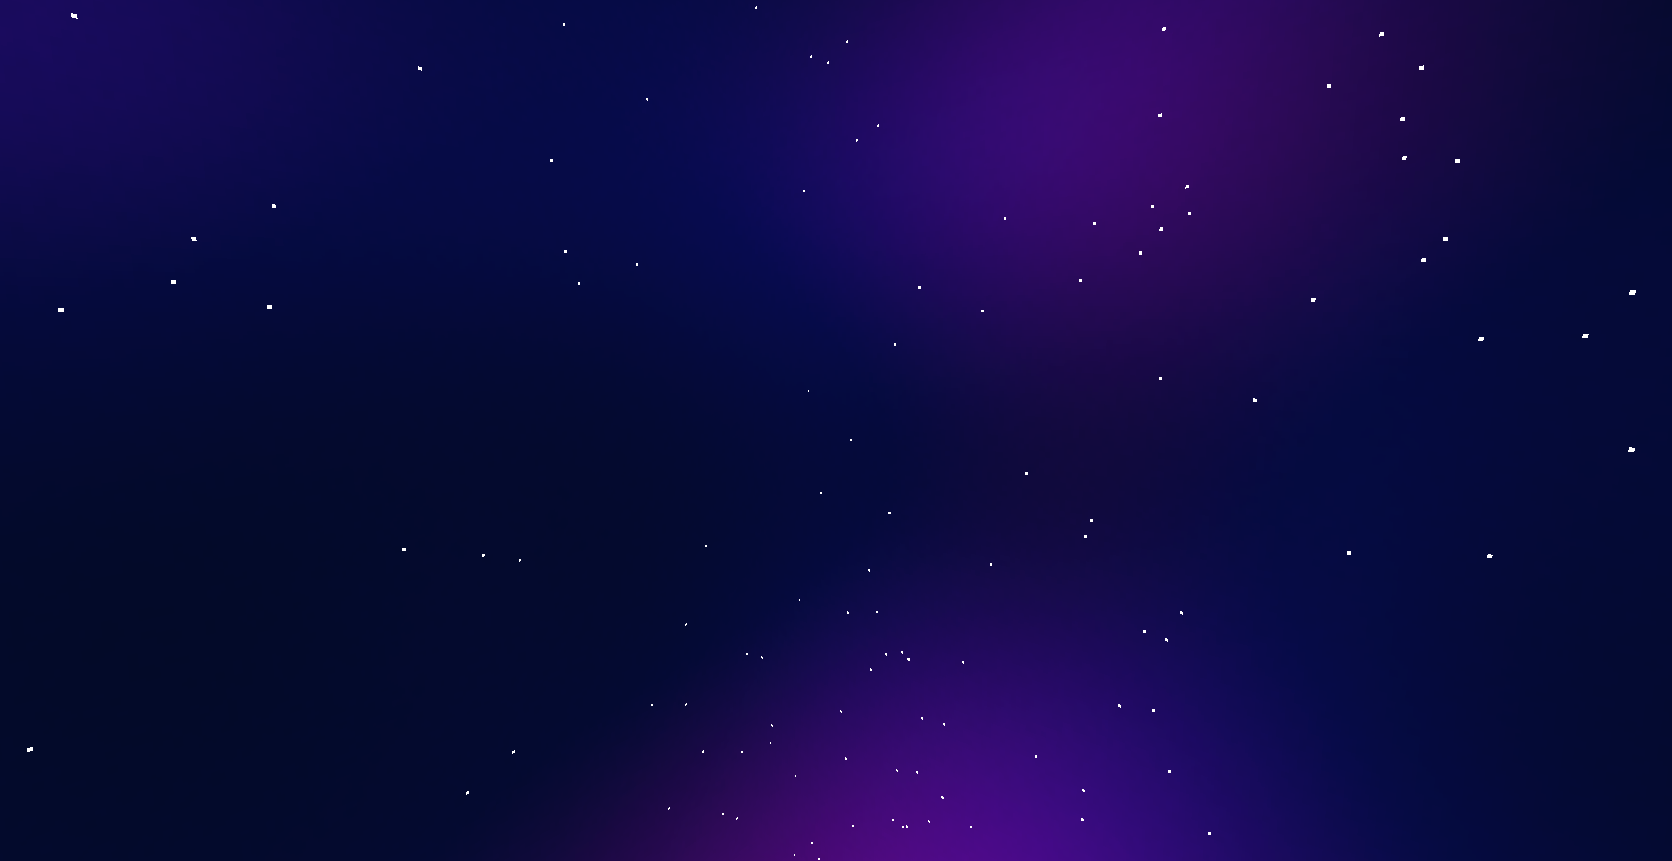
After fixing the purple issue, mucking around with HDR settings, and adding another layer of clouds, I had my final result. Im pretty happy with it, even if it looks more cartoony than before, It seems to fit the asthetic of the game better. I wanted a bright, colorful game, since most space games always appear drab and dark. The chunky pixel stars look like they would be at home in Elite.

I actually ended up not using any HDR. Spacescape kept generating 100MB .dds files, and exported PNGs ended up washed out in unity. I had to use the mobile skybox shader to get around this, since the normal (HDR-only) shaders kept adding too much red into the skybox for some reason.
(you may have also noticed the title font on the website has changed. I realized I was not allowed to embed the font into any website or game, so I’ve replaced it with an open source version of Bank Gothic called “Squarish Sans.” This change will also be applied to the game later)